If you’re longing for a whimsical, romantic and totally beautiful escape this summer, why not bring the beauty of carefree bohemian living to your own back yard?
[tps_header][/tps_header]Today, I’ll show you how to turn your garden into a free spirited, summer sanctuary and it’s so simple, quick and easy, you’ll be chilling in paradise in no time.
Step 1: Choose your spot
The first thing you’ll need, is to locate two trees in your garden that you can use to tie your support rope around. If you don’t have two trees, don’t stress, you can use walls, carport poles or pillars – be creative!
You’ll also need a few basic items;
- Rope – I used simple, washing line which you can buy at the supermarket
- Pegs
- Fabric of your choice – I used beautiful Sari’s for my fabric
- Logs or bricks to use as weights

Step 2: Build your tent
All you do is tie a rope between the two trees, high enough so that you can fit under your tent. Make sure there is as little tension as possible on the rope to ensure your tent doesn’t flop.
Then take your fabric and drape it so that each side is equal.
Bohemian style is all about mixing eclectic, bold prints and playing with colour and texture. I had a couple of used Sari’s which I bought last year and thought they would be the perfect fabric for my boho tent. While my Sari’s are narrow, each one is about 6m long, so there is more than enough fabric to create the tent, plus they have the most beautiful prints on them.
Since my Sari’s are narrow, I used three of them for my tent and then pegged them together. Sure you can sew them together, but I decided to go with pegs since they serve more than one decor concept for me. But it’s totally up to you.
Next up, you want to make sure that you weigh down each side of the tent so that they wind doesn’t want a piece of your beautiful boho tent. For this you can use bricks, or peg them into the ground with camp pegs, but I just used logs and rolled them under the fabric.
Step 3: Make it pretty
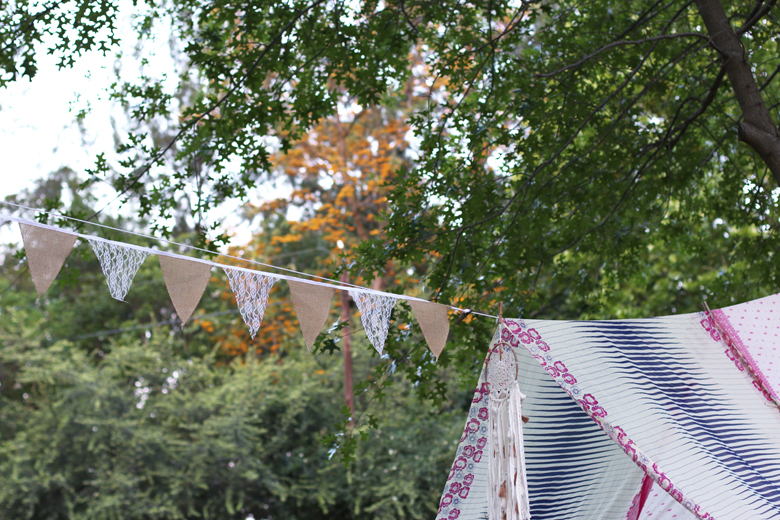
To prettify your boho tent and give it that whimsical effect, look for props to decorate it. For mine, I used my dreamcatcher at the entrance of my tent – pegging it onto the rope. I also had some fabric bunting which I used to conceal the rope and make it look a little more pulled together.
Be creative and make your boho tent unique. Some nice props to work with include shells, crystals, pom poms and feathers which you can hang down the front of your tent or peg them onto the rope. Otherwise, you can just leave it more rustic – which ever you choose, you’ll love your tent!
Step 4: Make it cozy
Since you’ll want to get into your tent ASAP, make it comfy. I laid some beach towels on the floor, inside my tent and then pulled some scatter cushions from around the house to make it cozy and inviting.
I also took an old wood palette to use as a coffee table.

Step 5: Enjoy
This set up literally takes less than half an hour and it’s such a cute and cozy spot to chill in, plus it adds a really pretty element to your garden.
If you can, why not leave the rope tied between the trees, so that the next time you want to play house-house in the garden, all you’ll have to do is drape the fabric.
Now, if you’ll excuse me, I’m off to enjoy some chill time in my pretty little space.
[signature]
What a lovely idea!! Thanks for sharing!
Thank you Mellie and you’re welcome 🙂 x
Looks so cute and inviting!
Thanks Lalannie. It’s my little happy place 🙂